How to solve the 3x3x3 Rubik's Cube
The Rubik's Cube was invented in 1974 by Hungarian Professor Erno Rubik and was originally titled the Magic Cube, though the name was later changed due to associations with witchcraft at the time. Until 1980 it began to be distributed worldwide and enjoyed its most popular decade from then on. Roughly 1 in 7 people will have attempted to solve a Rubik's Cube and around 350million have been sold worldwide. The fastest solution of the Rubik's Cube is 3.253 seconds - by a robot. The fastest human solution is currently Mats Valk with a time of 5.55 seconds. Read on to find out how to solve Rubik's cube.
Notation
To begin how to solve the Rubik's cube we need some notation. Each of the smaller cubes are either centre, edge or corner pieces, as shown below:
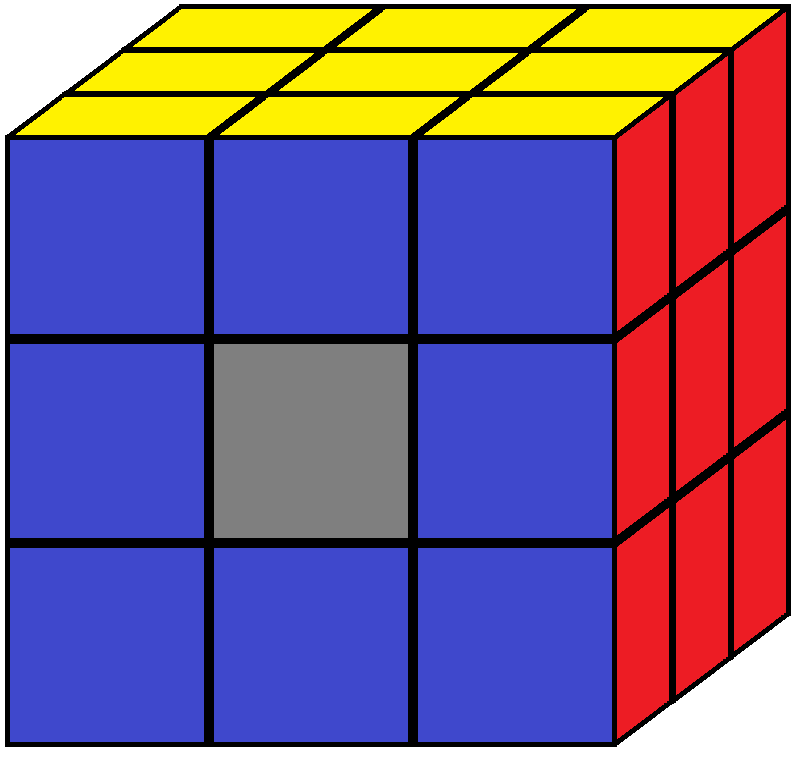
Centre piece
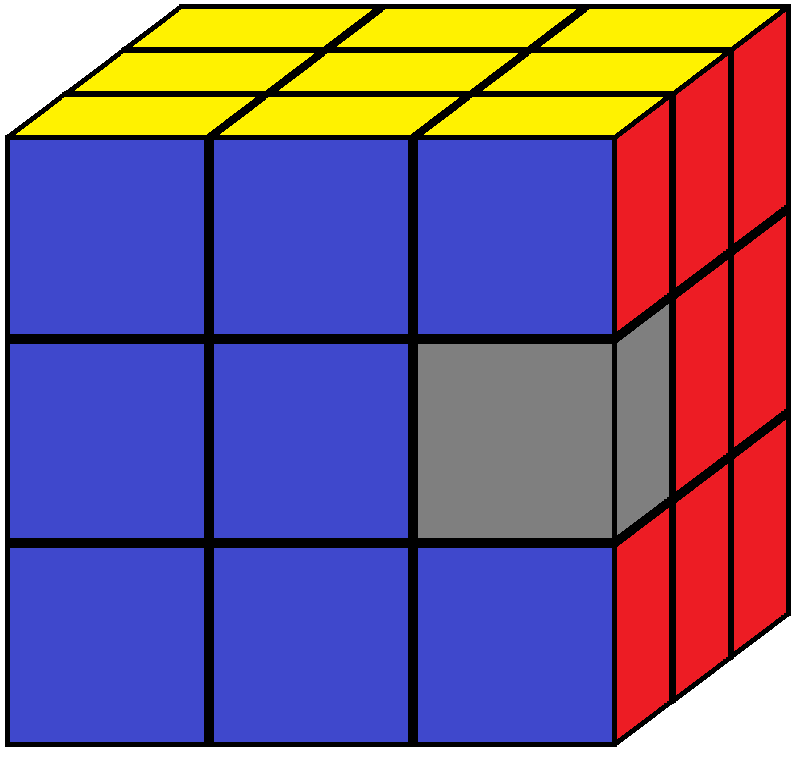
Edge piece
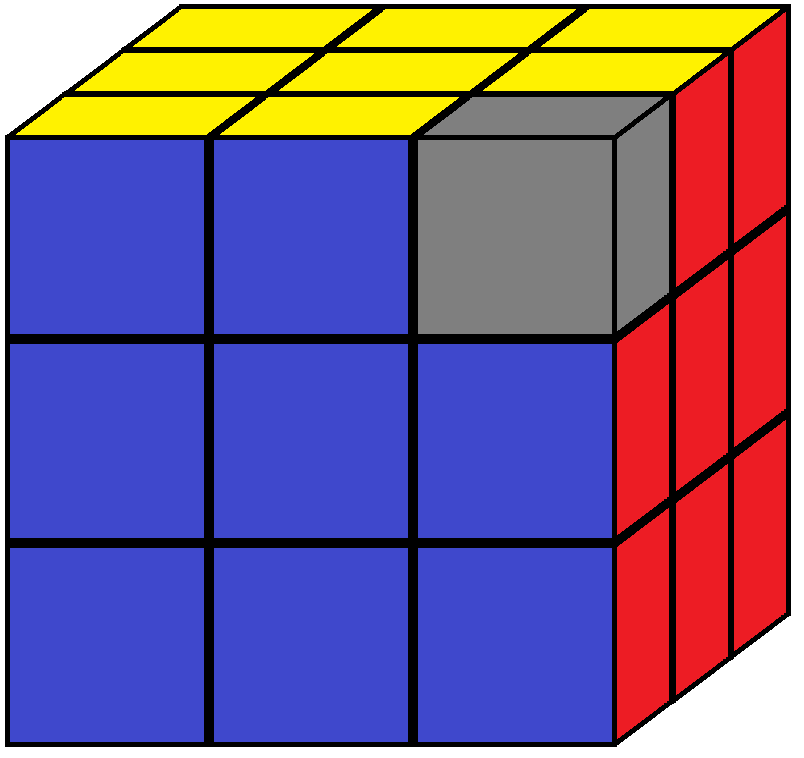
Corner piece
The centre pieces do not move, so these decide the colours of each side of the cube. Traditionally, the cube has white and yellow as opposite faces, as well as red and orange and also green and blue.
The faces of the cube are labelled as follows:
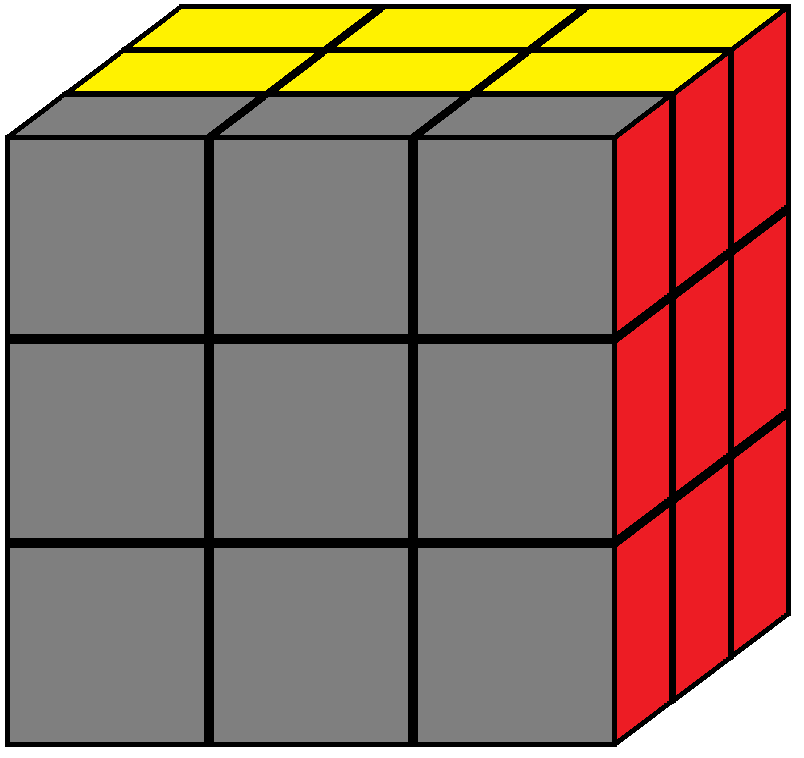
F = Front
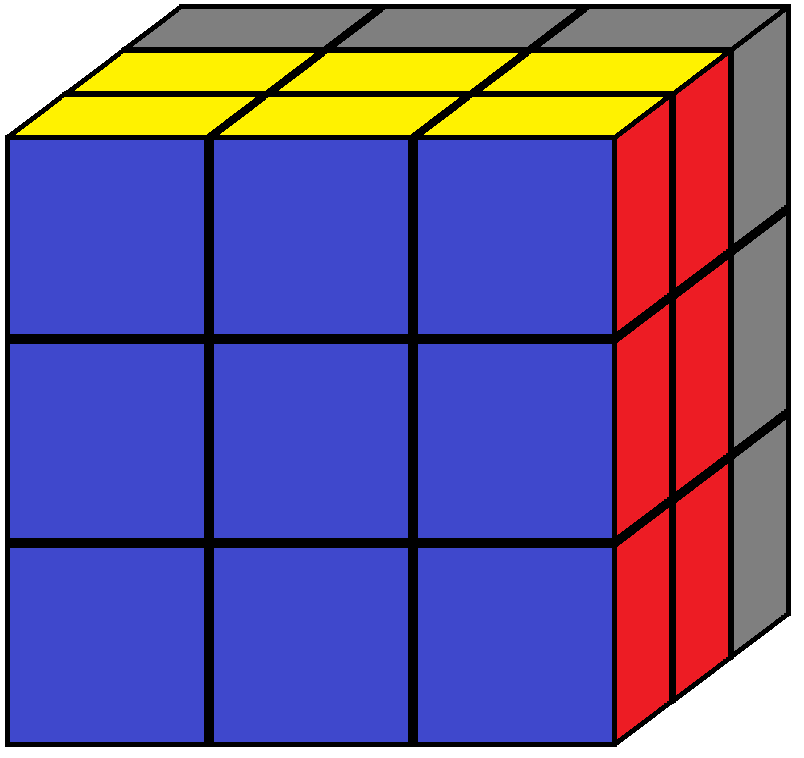
B = Back
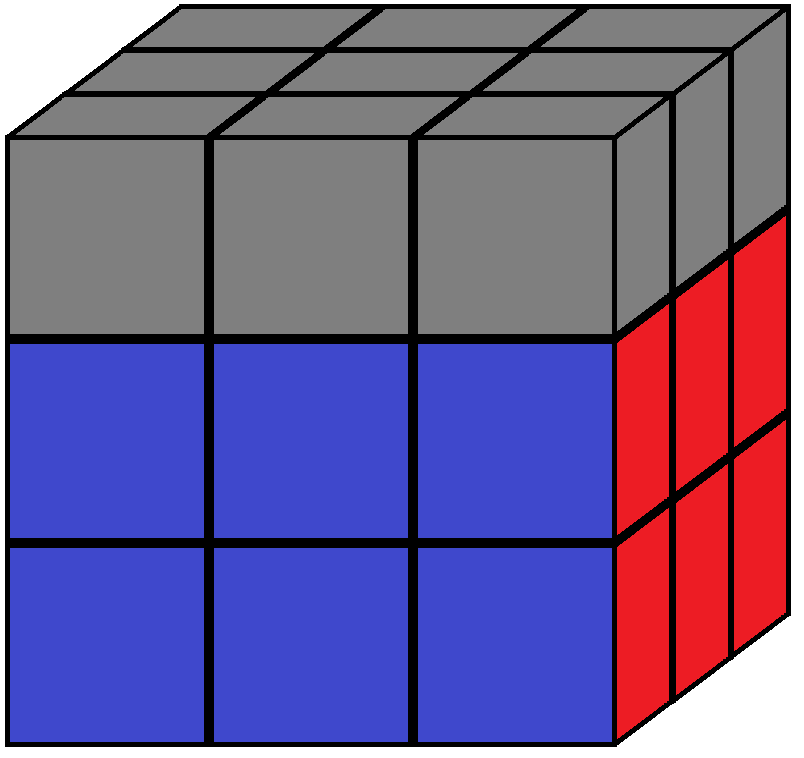
U = Up
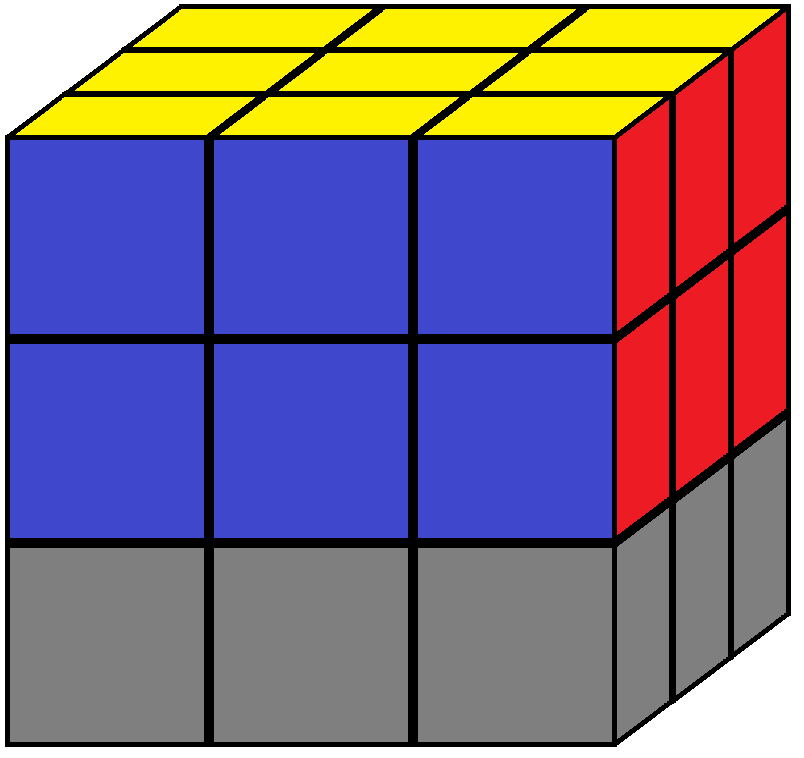
D = Down
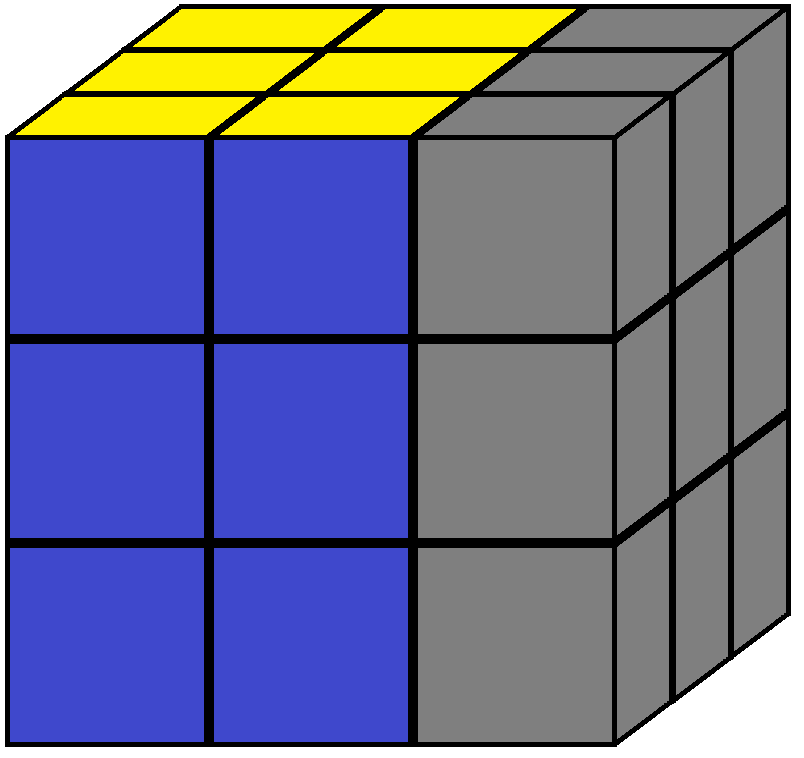
R = Right
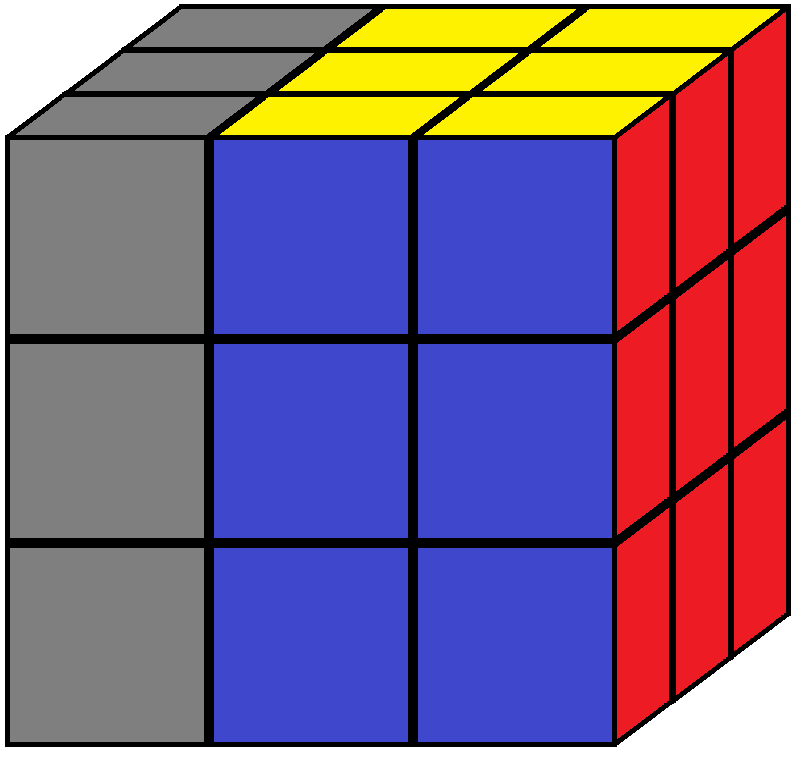
L = Left
All moves should be performed with the front face of the Rubik's cube pointing towards you. Moves are denoted by the first letter of the faces name. For example, F means turn the front face a quarter turn clockwise. F' means turn the front face a quarter turn anti-clockwise, F2 means turn the front face a half turn. B means turn the back face a quarter turn clockwise as if you were looking directly at it etc.
The front face will always be the one looking out of the screen throughout the tutorial, and any grey squares mean that the colour does not matter. Now that you know the notation here's how to solve the Rubik's cube!
First Layer
Step 1
The first step is to solve the edge pieces of the top layer of the Rubik's cube, matching them to the centre pieces on either side.
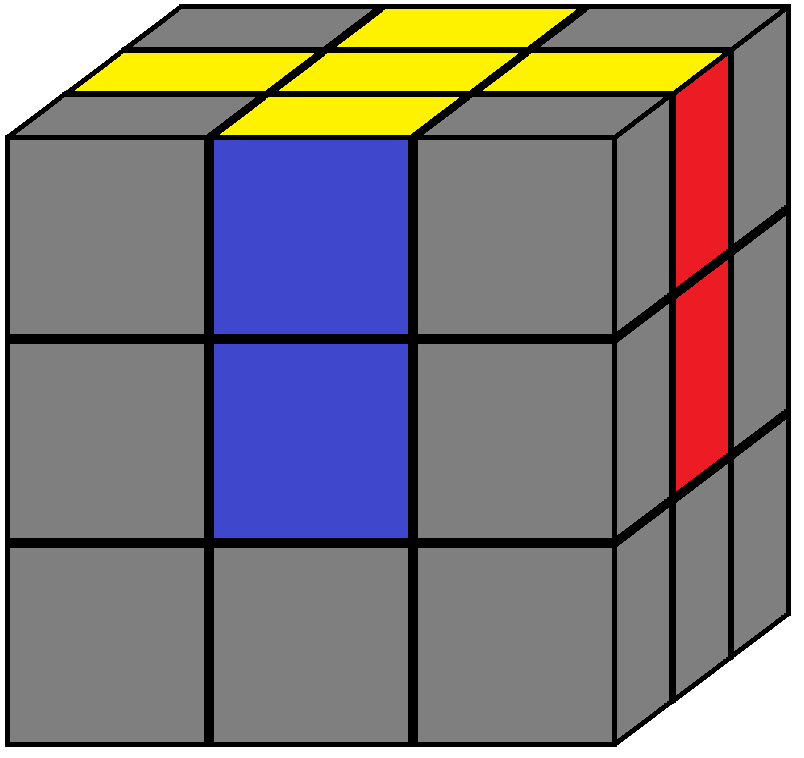
Aim
This is mostly done by eye. However, there is one situation that could come up for which there is a quick and easy algorithm to help. If an edge is in the correct place, but needs to be flipped:
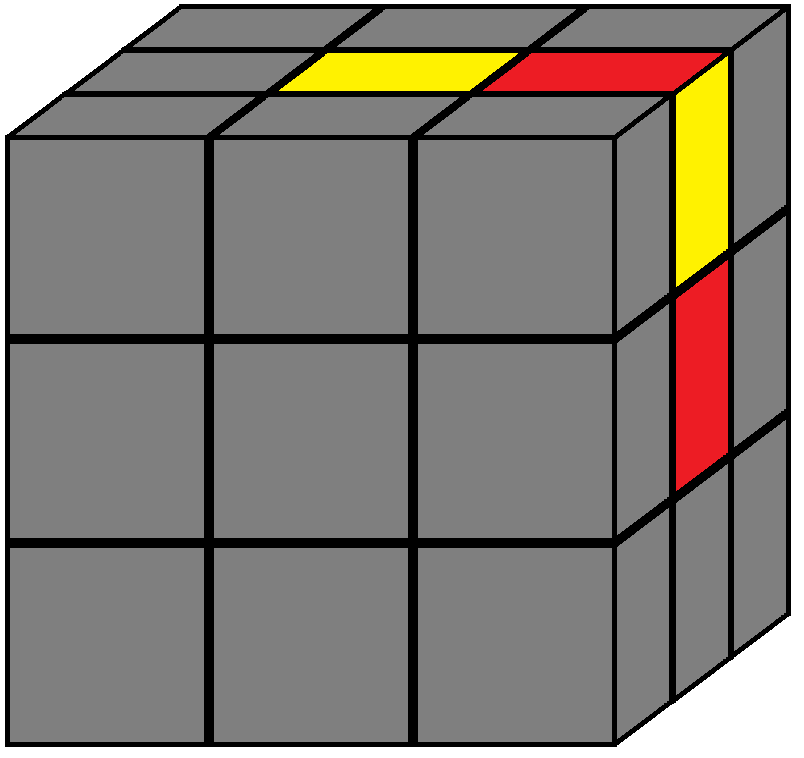
Algorithm: R' U F' U'
Step 2
The second step is to solve the corners on the first layer.
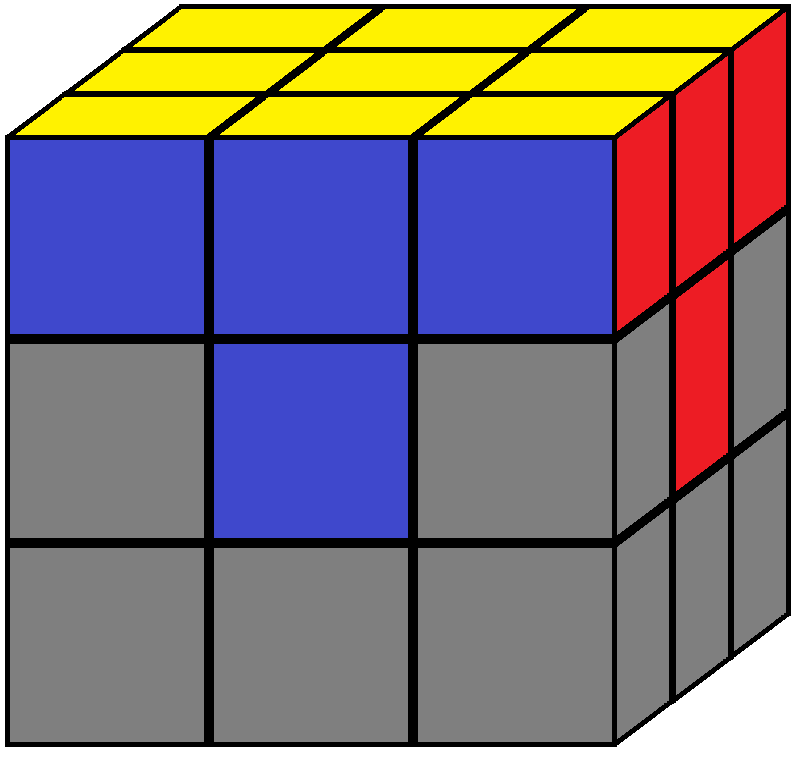
Aim
Firstly, place the desired corner on the bottom face underneath where it needs to go on the top face. (If the piece you want is already in the up face but in the incorrect position then use the following algorithm to place it in the bottom face and then proceed as normal). There are three possible orientations of the corner piece.
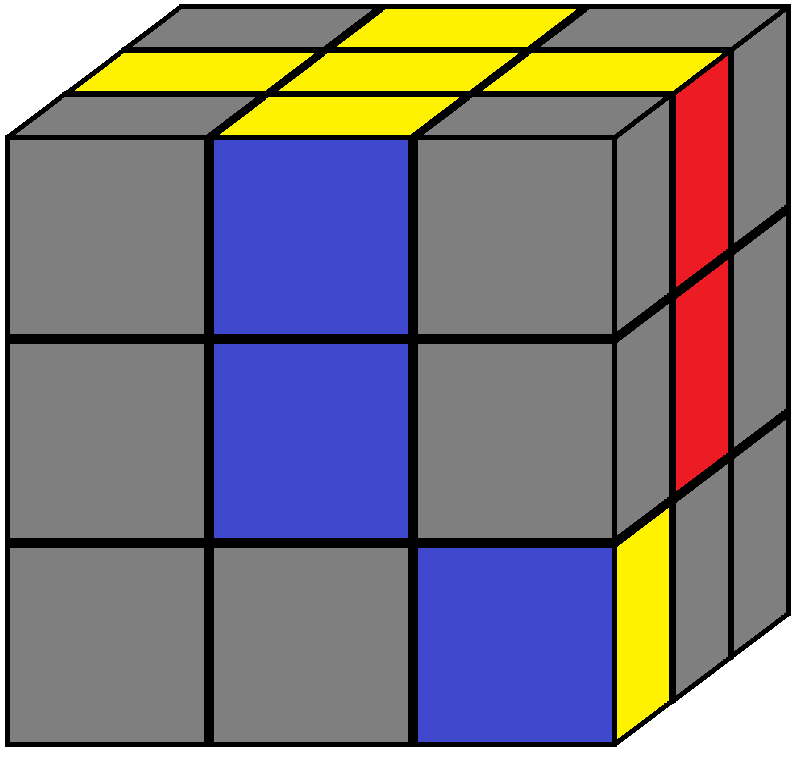
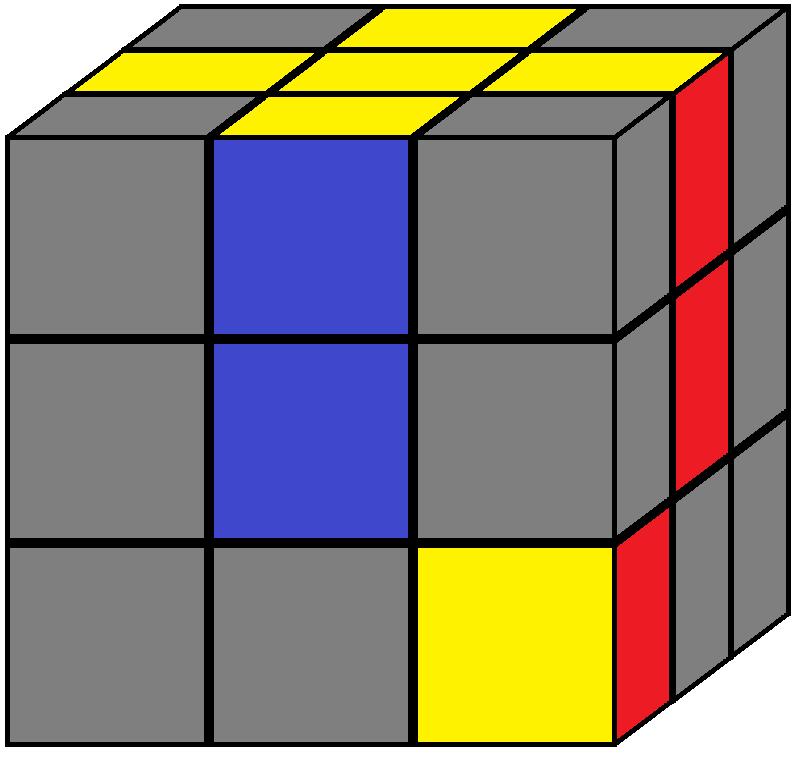
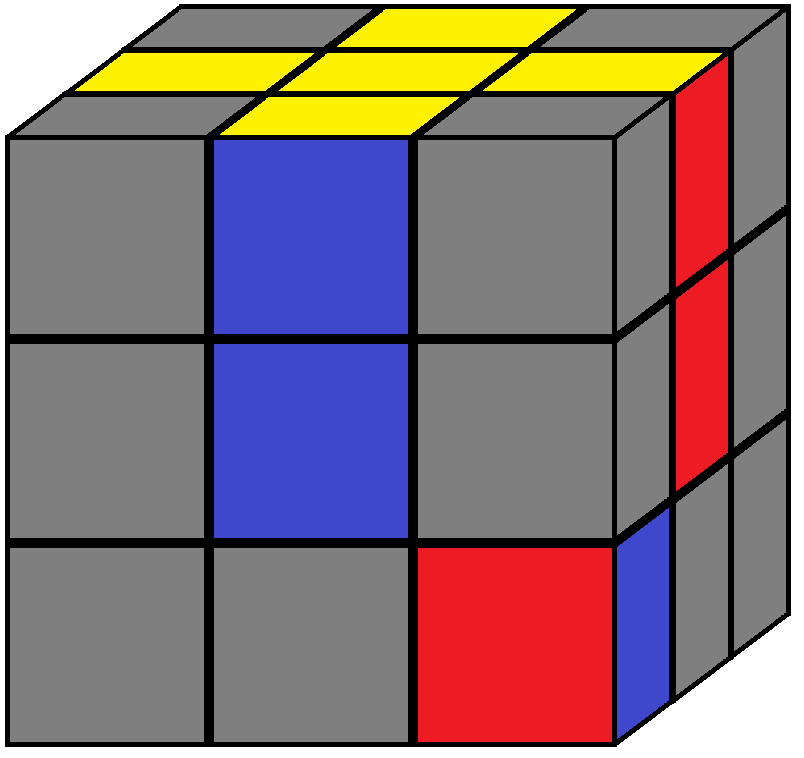
Algorithm: R' D' R D
The algorithm may need to be repeated multiple times before the corner piece is correctly placed. Once that's done it's time to solve the second layer of the Rubik's cube.
Second Layer
Step 3
Now it is time to turn the cube over. The aim is to move all the edge piece in the middle layer into their correct position and orientation.
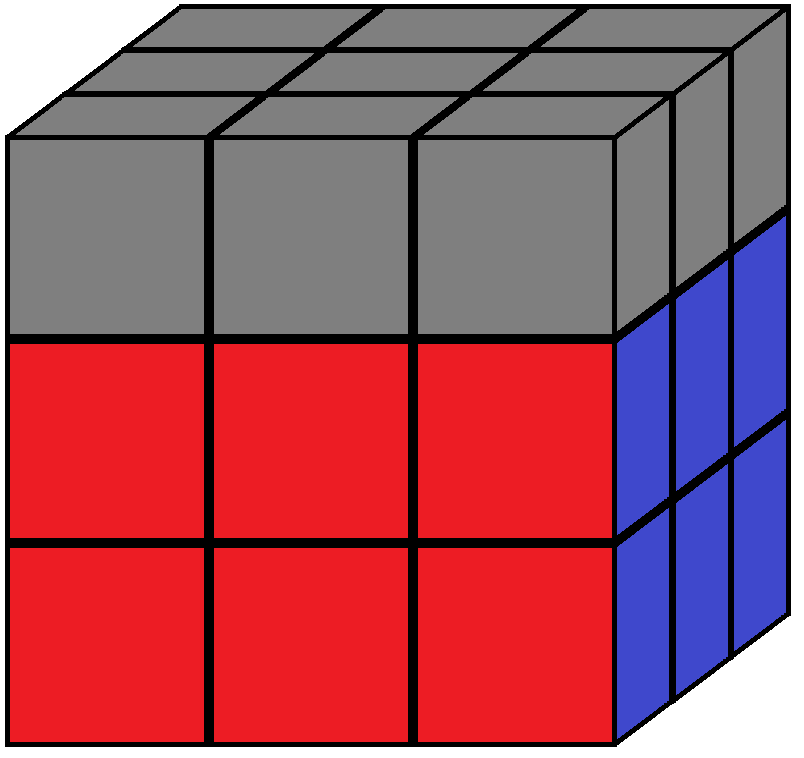
Aim
First find a piece in the up face that can be positioned to create a vertical strip of one colour on the front face. Then the piece either needs to move down to the right or down to the left. To bring it down to the right use this algorithm:
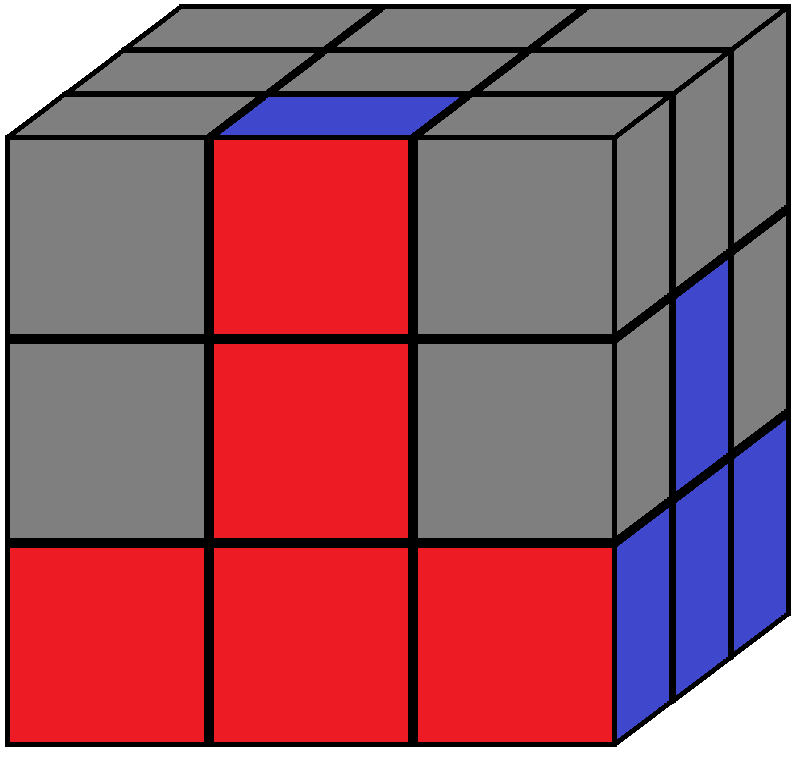
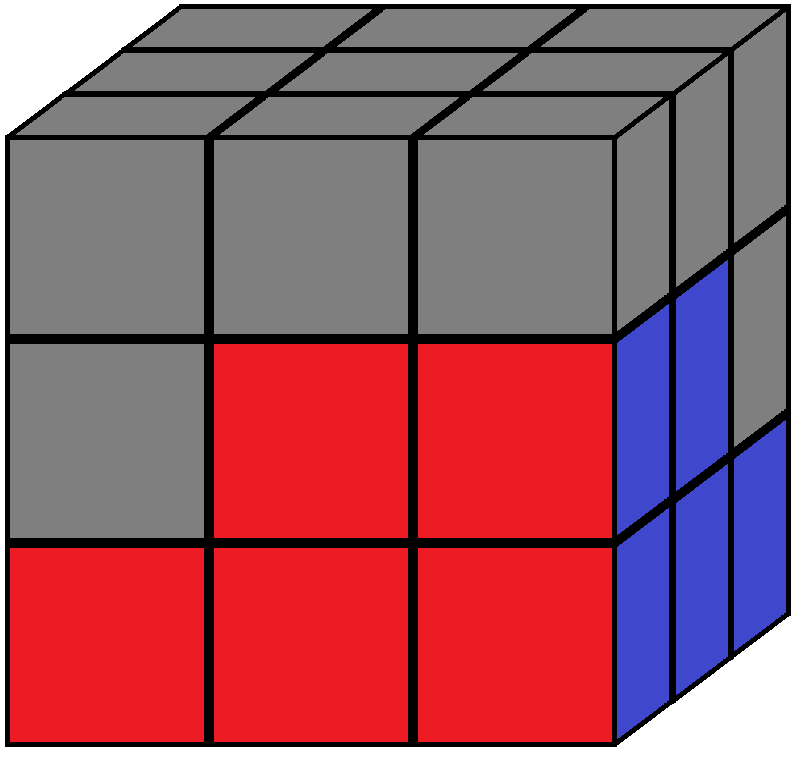
Algorithm: R U' R' U' F' U F
And to bring it down to the left use this algorithm:
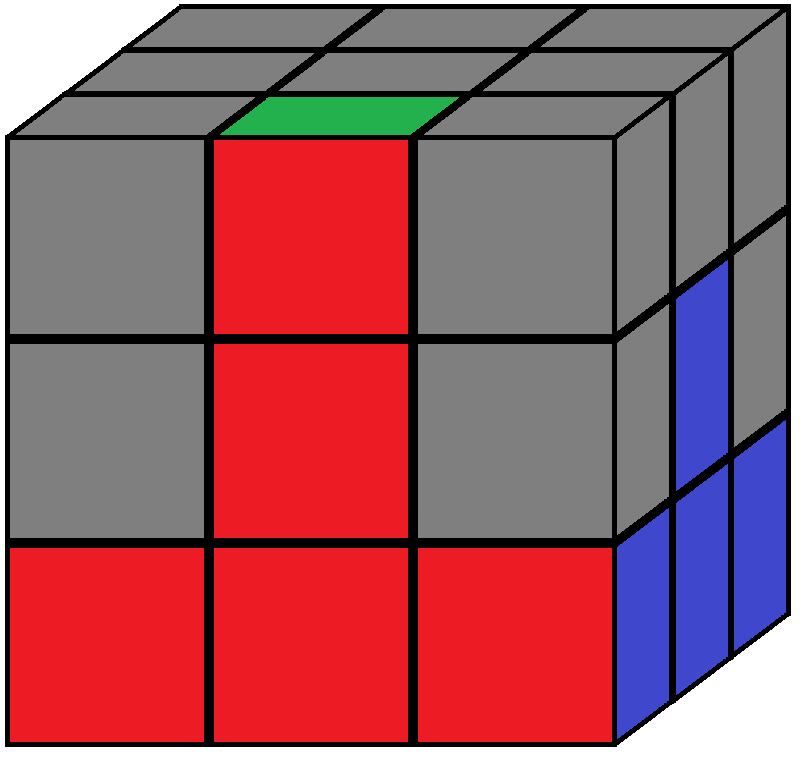
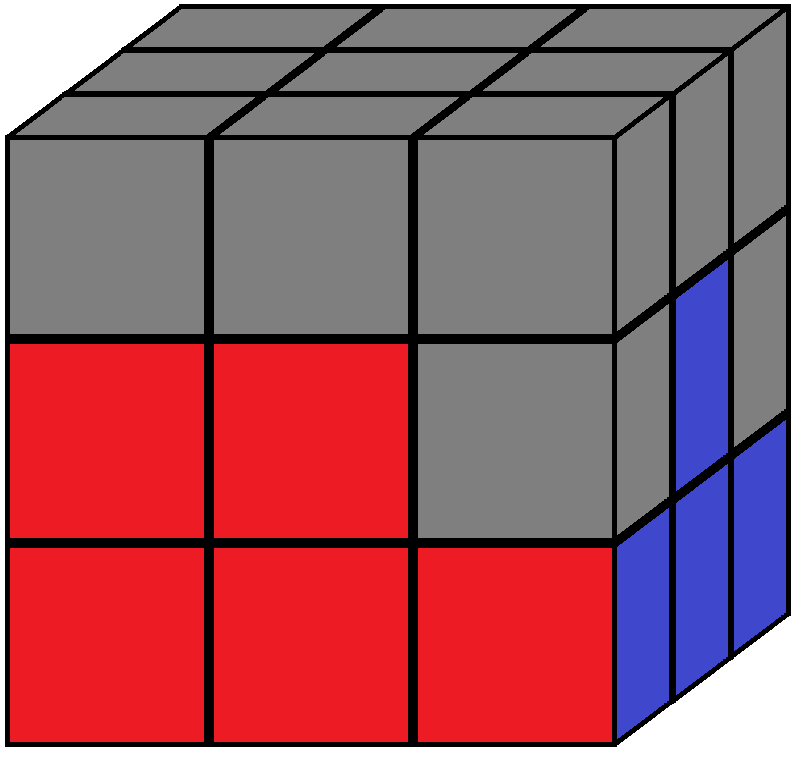
Algorithm: U' L' U L U F U' F'
Find your next challenge
Third Layer
Step 4
Finally we solve the top layer. The first part of this process is to form a cross on top.
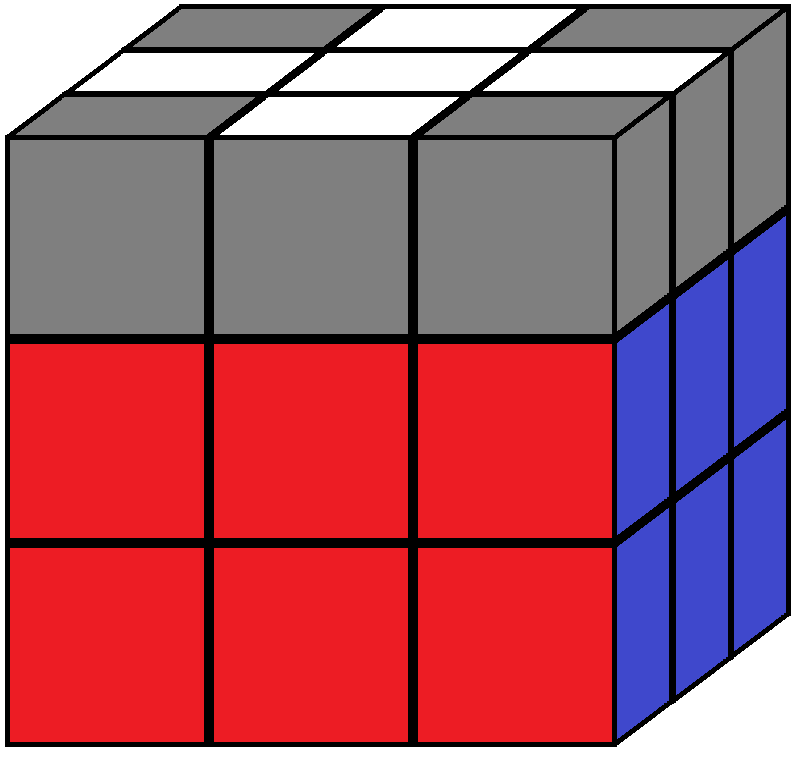
Aim
There are three different possibilities. Either you have no edge pieces flipped correctly, you have an L shape, or you have a line. Solving these will either give you another of the possibilities or the cross. Simply apply the correct algorithms as shown below the pictures of possibilities:
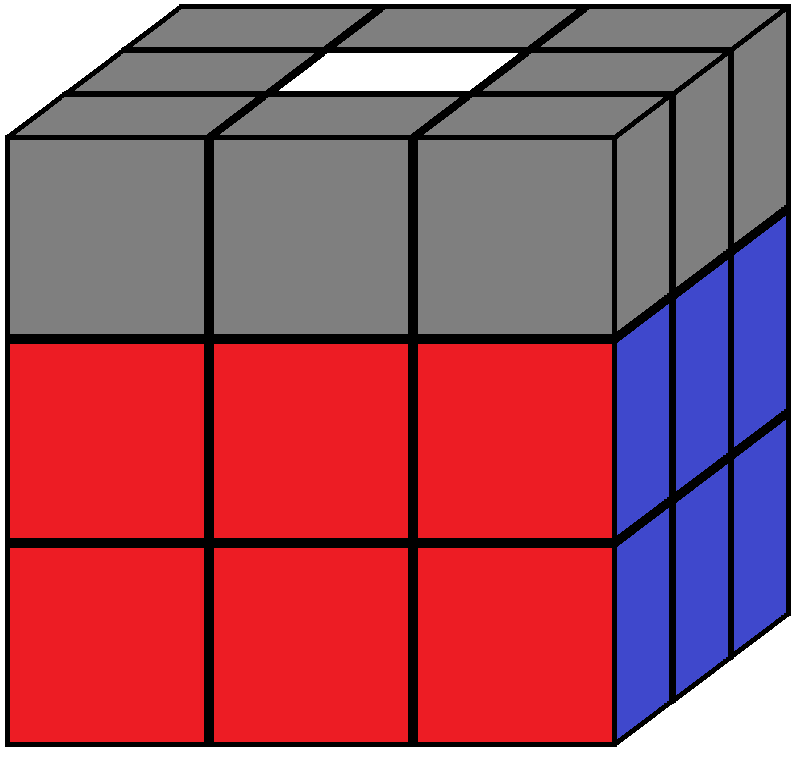
Algorithm: F U R U' R' F'
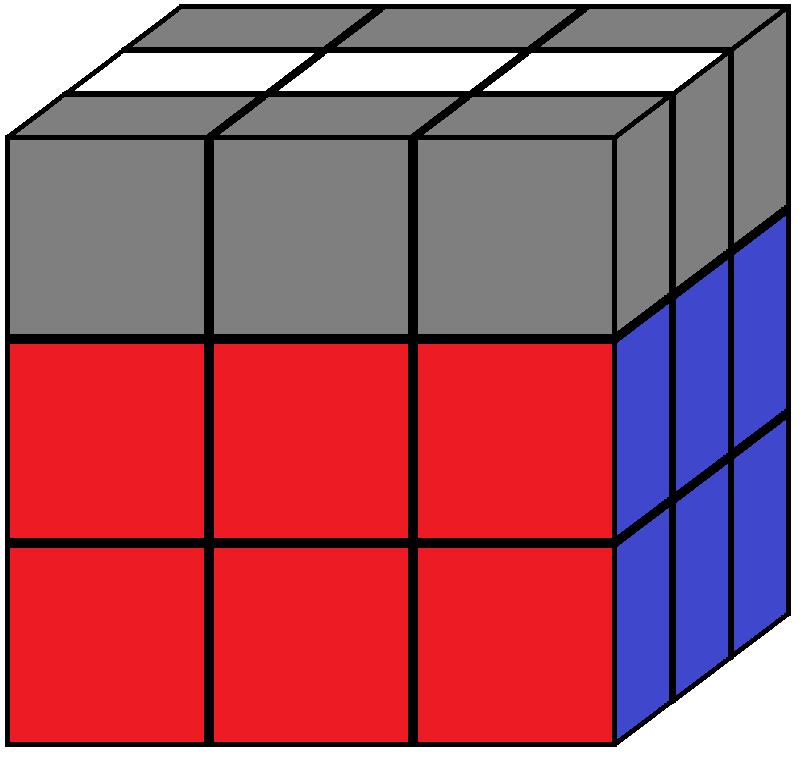
Algorithm: F R U R' U' F'
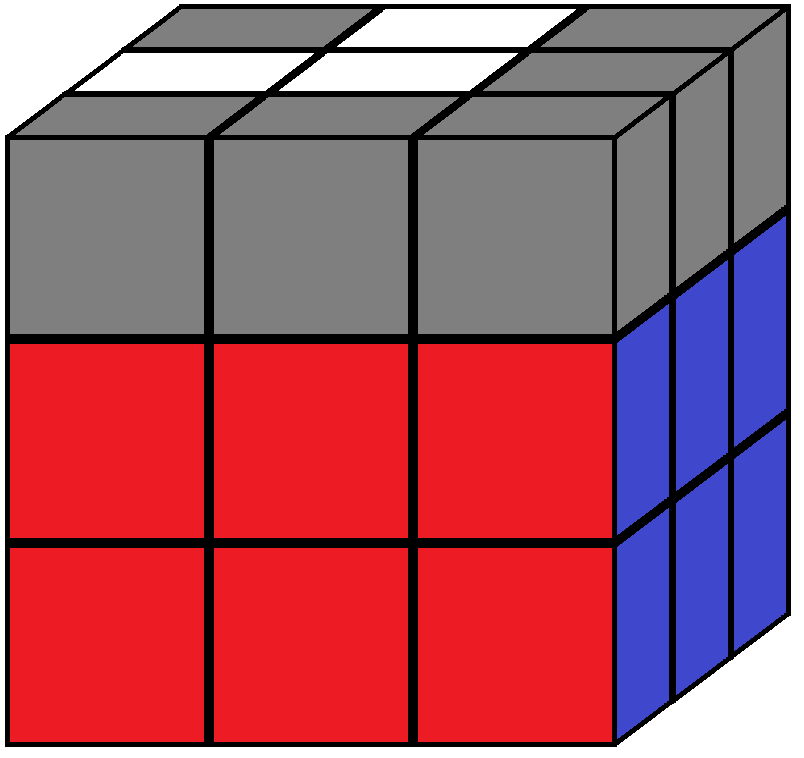
Algorithm: F U R U' R' F'
Step 5
The next step is to flip the corners of the top layer so they all have the white side up (your colour may be different). It can take a few repetitions of the algorithm to solve the corners, after each sequence ensure you reorientate the cube to one of the below orientations:
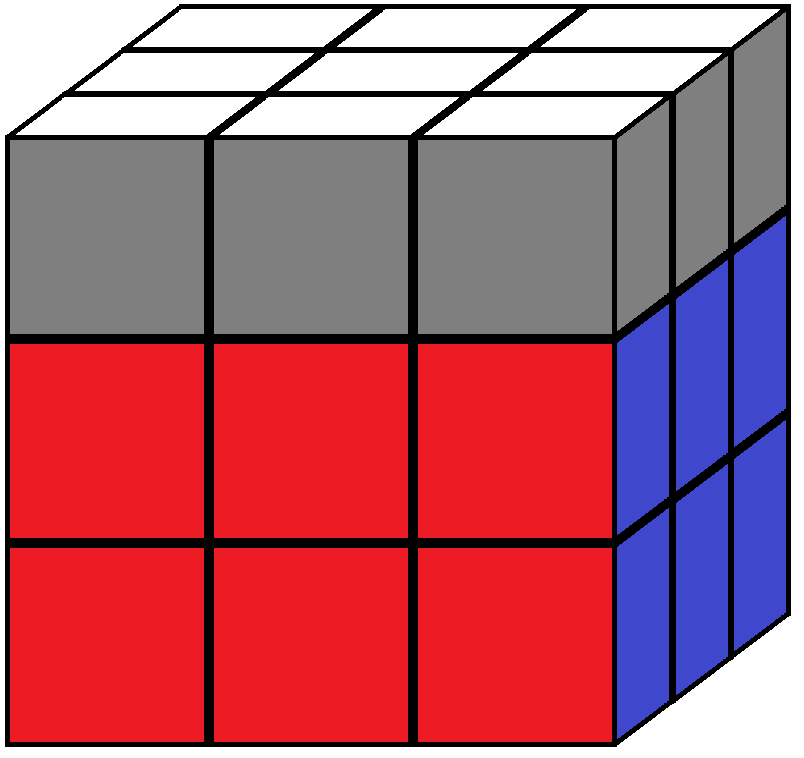
Aim
It can take a few repetitions of the algorithm to solve the corners, after each sequence ensure you reorientate the cube to one of the below orientations:
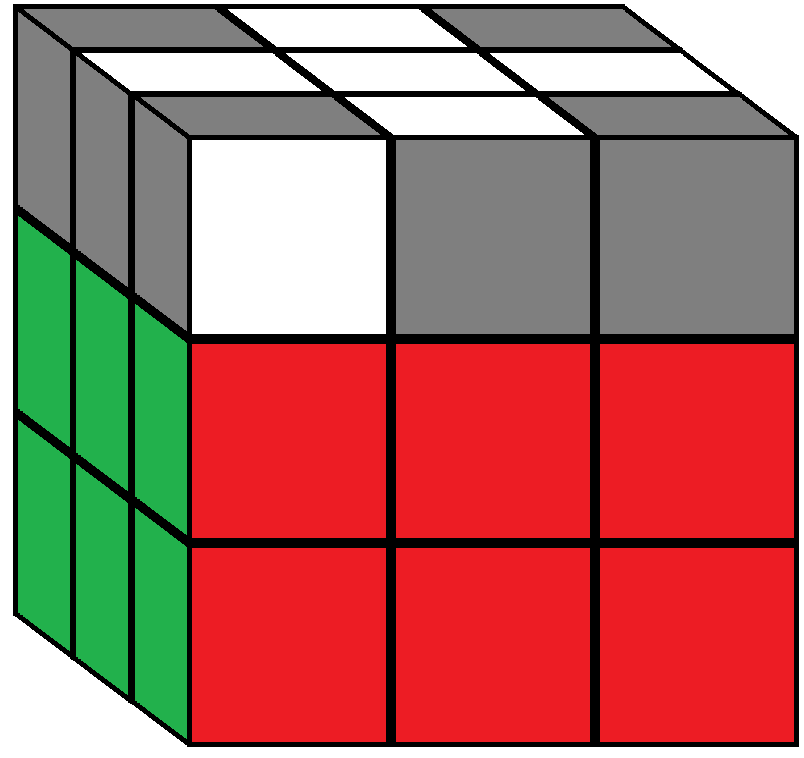
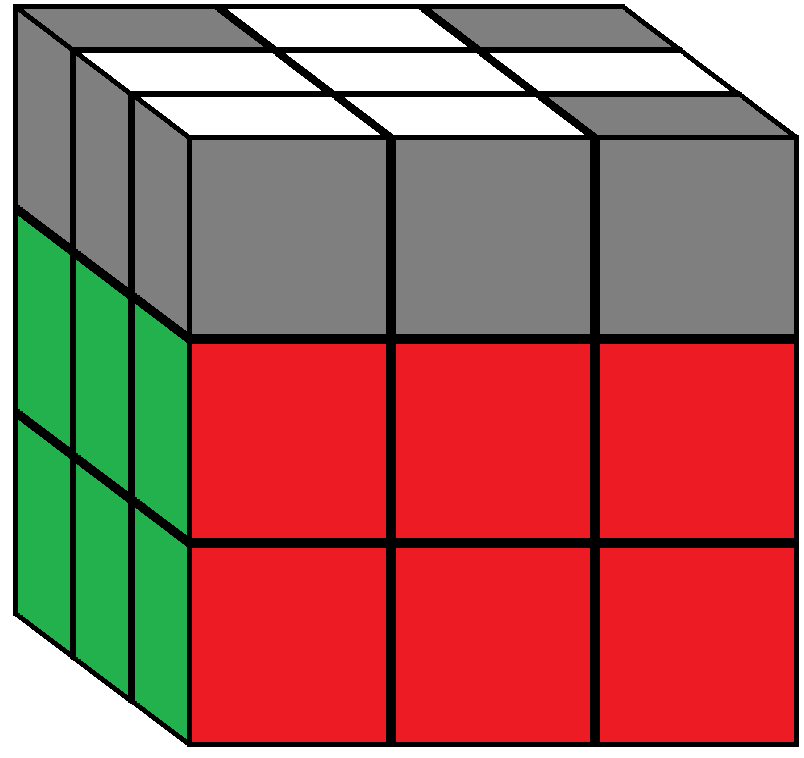
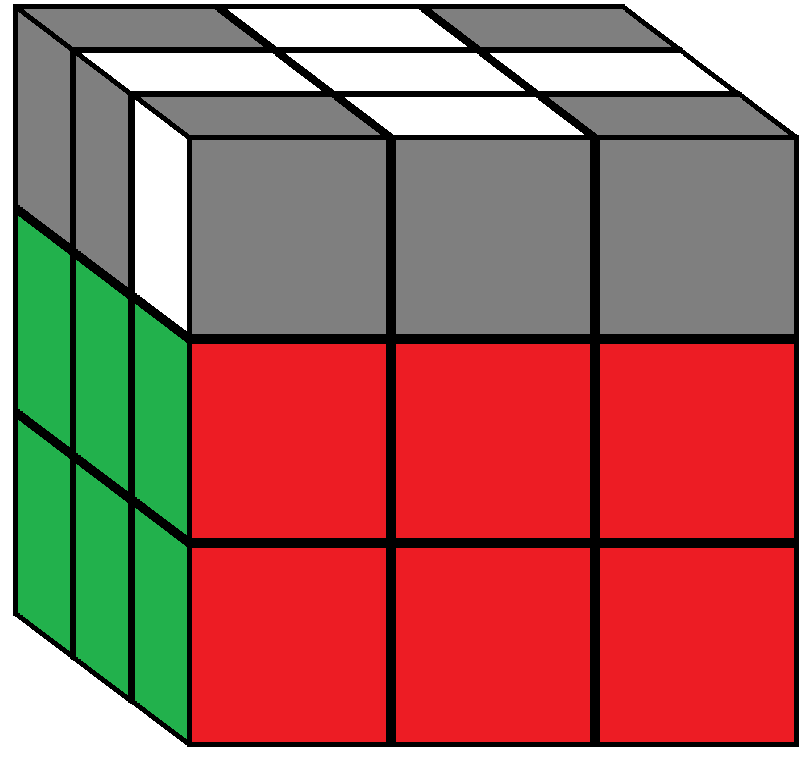
Algorithm: R U R' U R U2 R'
Check your orientation after each use!
Step 6
This step places the corners into their correct positions.
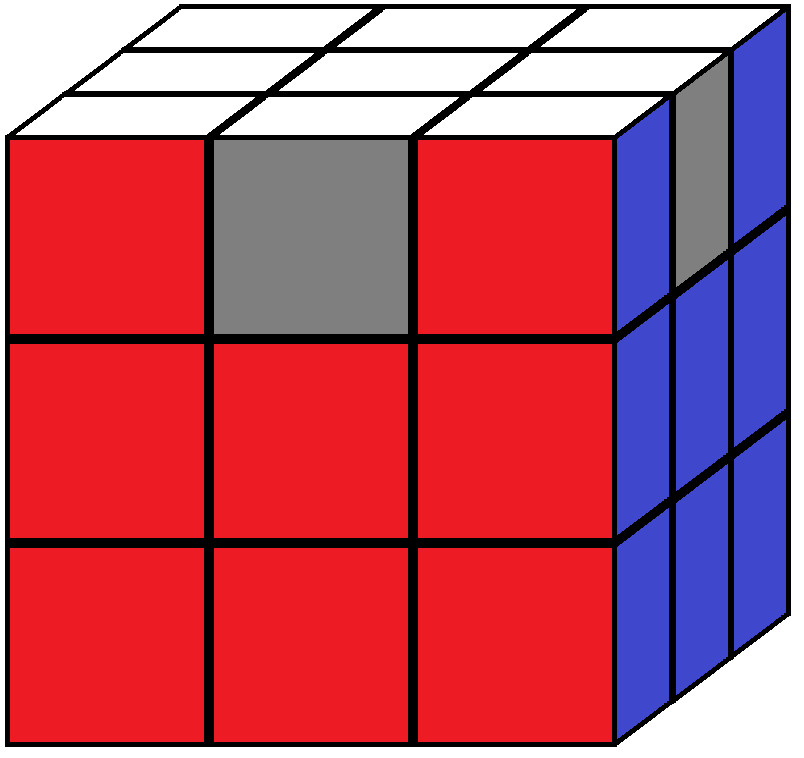
Aim
Twist the up layer until two corners are in their correct position, two of them have to be in their correct place. Place these two correct corner pieces at the front, i.e. where the x's are in the diagram below. If your correct two corners are diagonally opposite eachother then perform the below algorithm once - this will give you two correct corner pieces next to each other which you can then place in the back and continue.
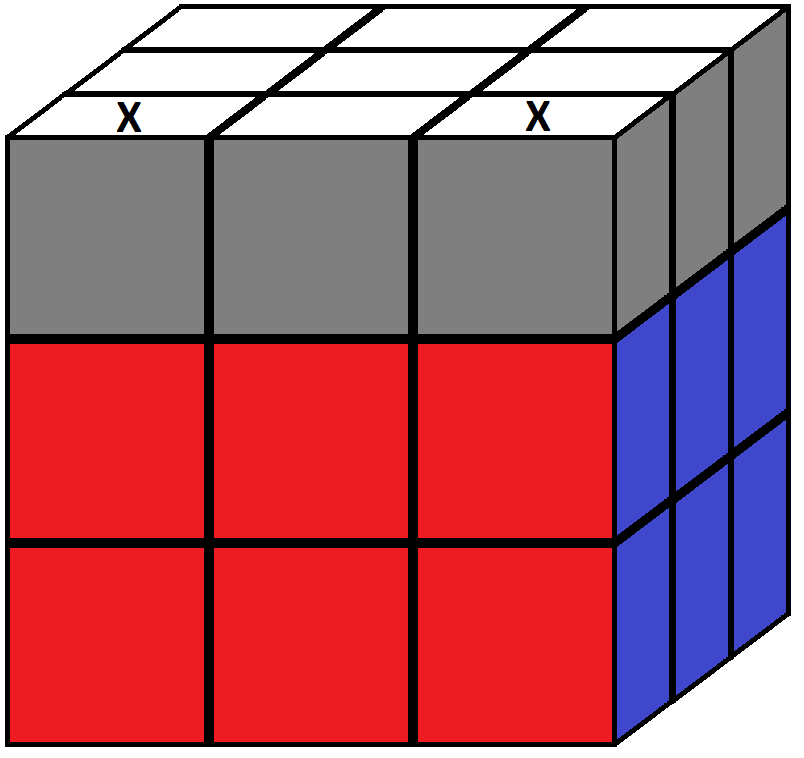
Algorithm: R' F R' B2 R F' R' B2 R2 U'
Step 7
The final step in this How to solve the Rubik's Cube guide is to position the final edge pieces correctly.
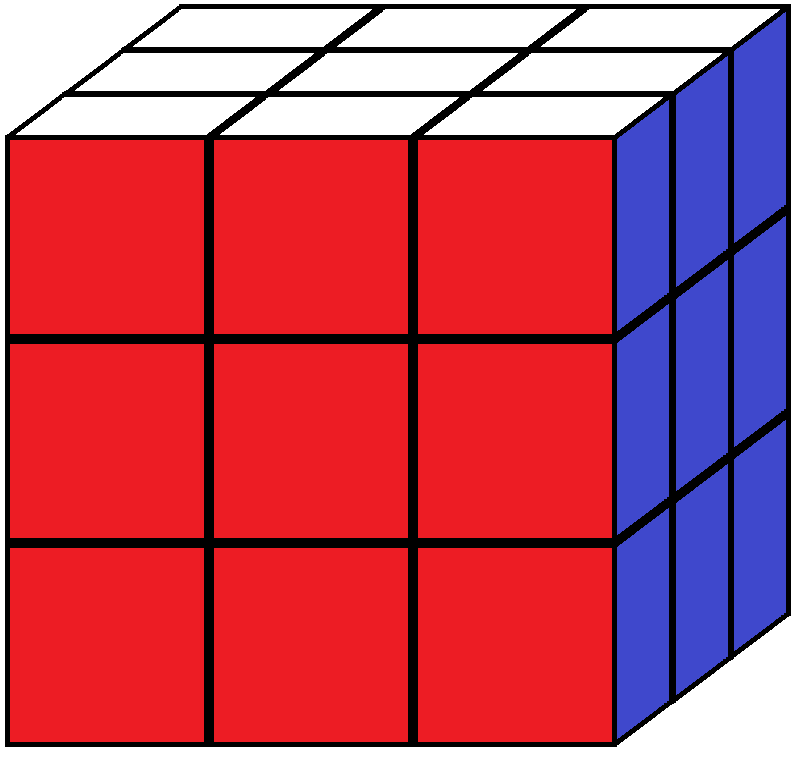
Aim: Complete Cube!
There are three possibilities: all edges are correct, hence you are finished; 1 edge is correct and 3 are incorrect so you need to move them clockwise or counter clockwise; or all four are incorrect in which case perform one of the below algorithms to place one correctly and then proceed as normal.
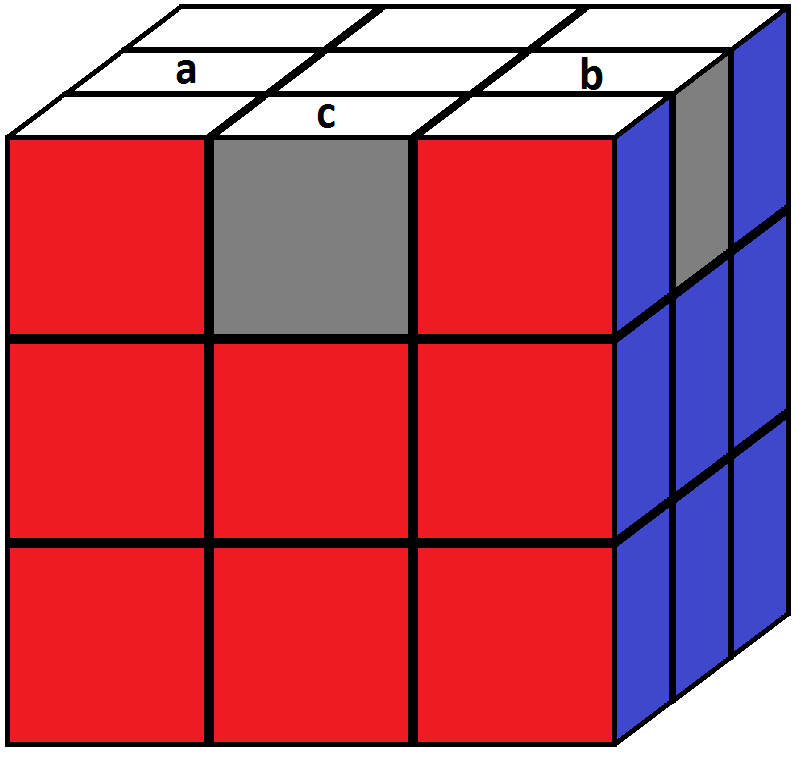
Clockwise Algorithm (a b c): F2 U L R' F2 L' R U F2
Anti-Clockwise Algorithm (a c b): F2 U' L R' F2 L' R U' F2